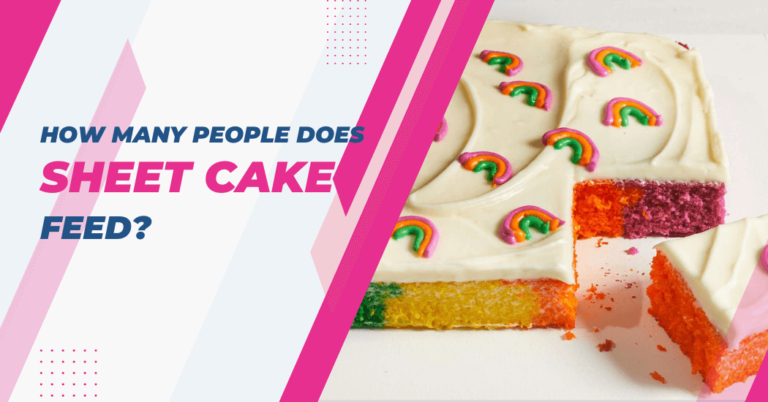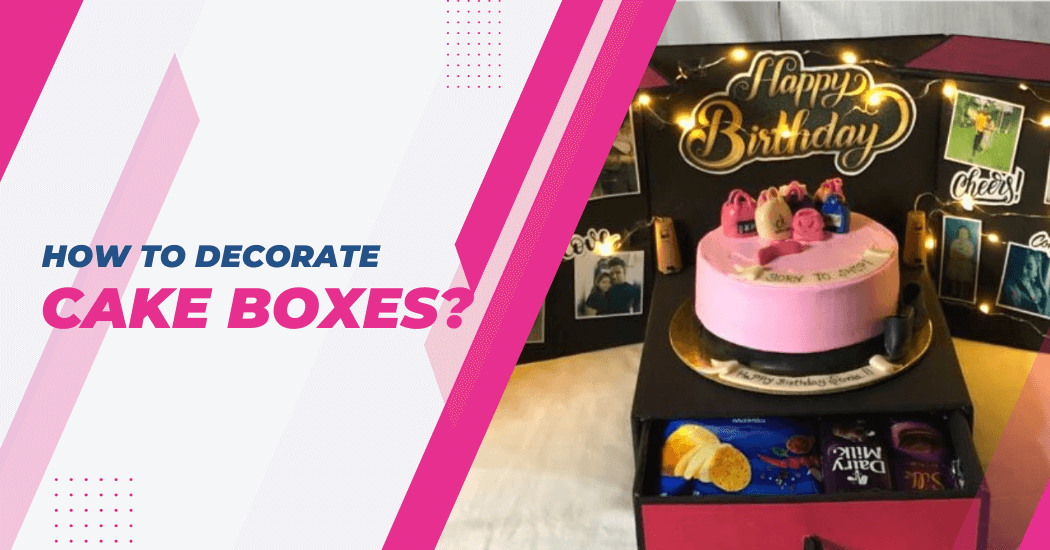
How to decorate cake boxes?
In today’s world of creative and delightful desserts, presentation has become a crucial aspect of a successful bakery business. Cake boxes play a significant role in adding that extra wow factor to your delectable creations.
In this blog post, we’ll share our top tips on how to effectively create beautiful intricate designs on your cake boxes so that they look sleek and elegant.
Read ahead to learn all of the secrets of buying materials and stamping custom patterns onto paper/cardboard surfaces as well.
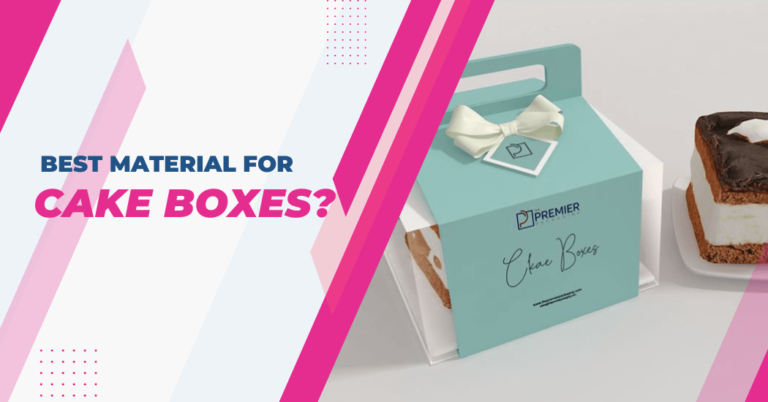
Materials needed for cake box decoration
- To decorate your cake boxes, you will need the following materials:
- Plain Cake Box (preferably in white or light pastel colors)
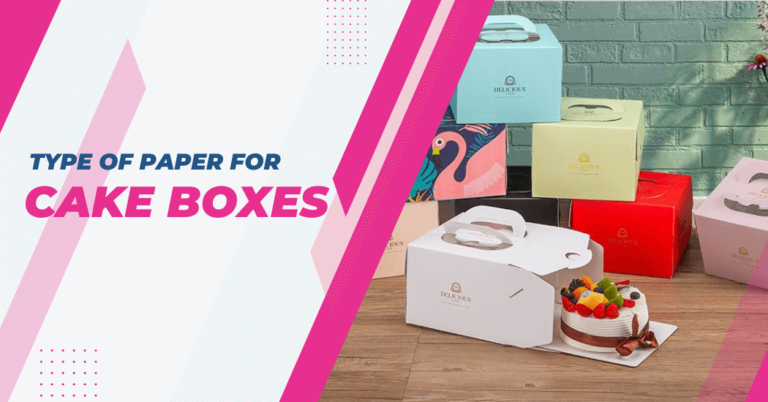
- Craft Paper or Cardstock
- Scissors
- Glue/Tape
- Stamps or Stencils
- Ink Pads
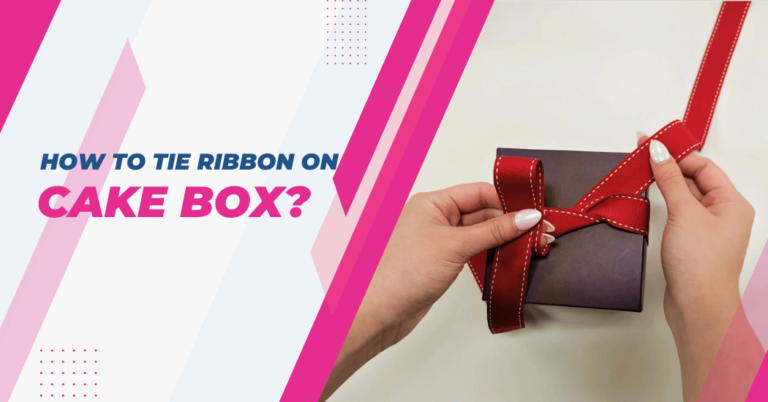
- Ribbon/Baker’s Twine
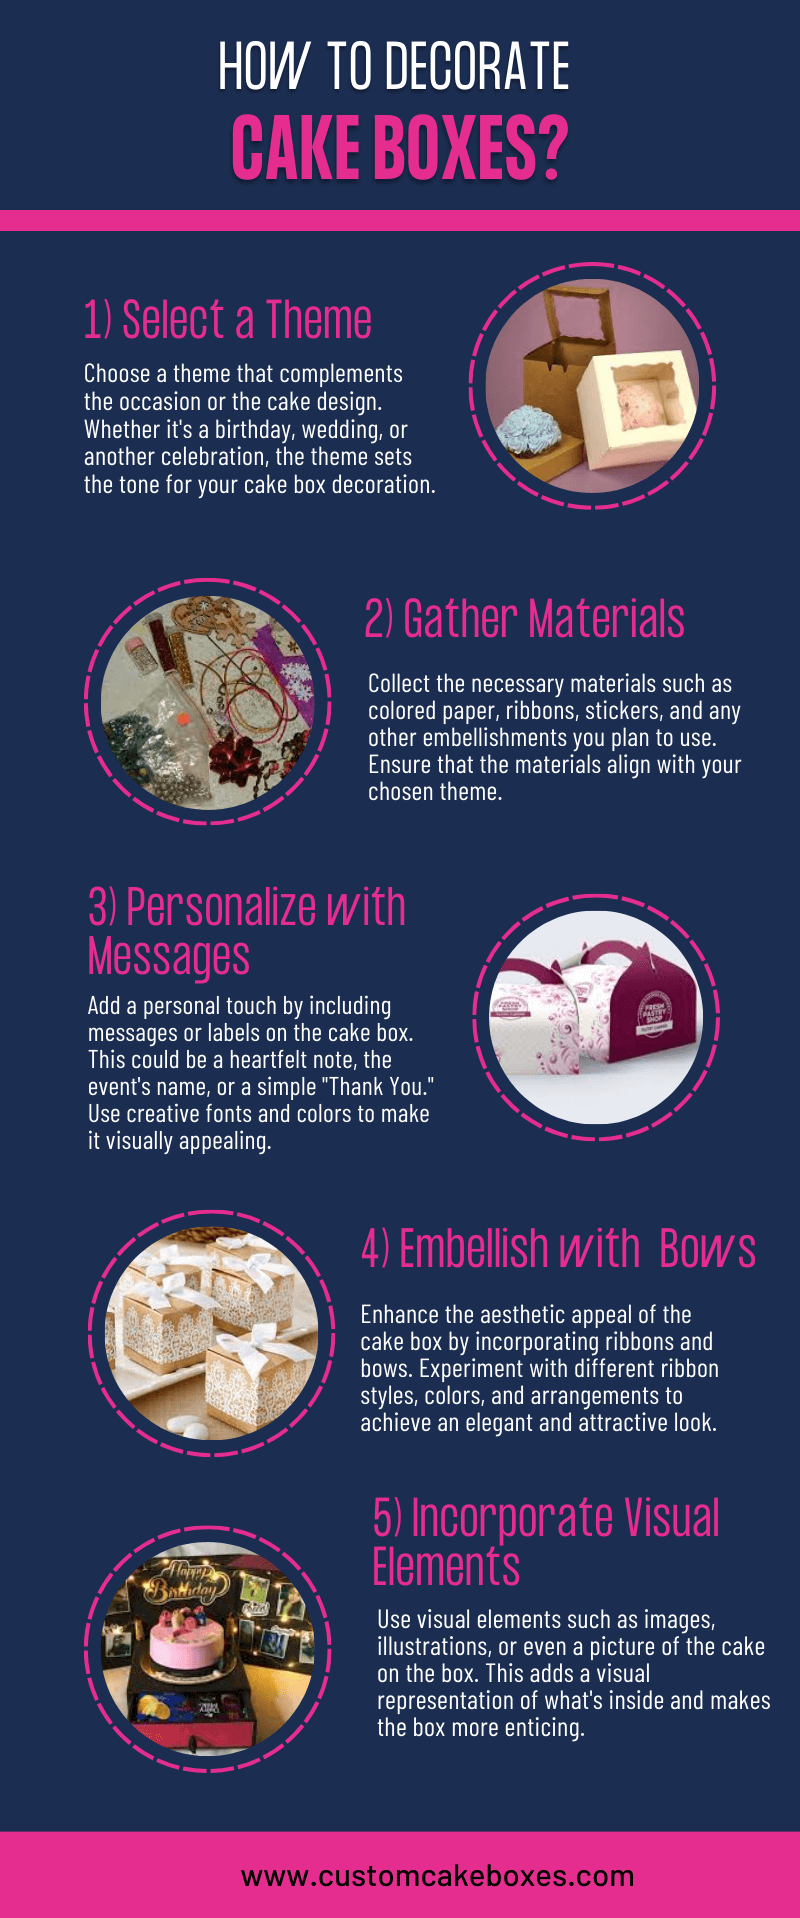
Steps To Decorate Cake Boxes
Step 1: Choose the right cake box: First step in decorating your cake boxes is to choose the right one. Make sure to select a plain and sturdy box that can easily hold your cake without any damage or spillage.
Step 2: Prepare your materials: Gather all the necessary materials mentioned above for decorating your cake box. Make sure to have enough craft paper or cardstock to cover the entire box.
Step 3: Create custom stamps or stencils: If you want to add a unique and personalized touch to your cake boxes, create your stamps or stencils. You can use rubber stamps or carve designs into soft linoleum material for creating custom patterns.
Step 4: Cut and cover the box: Measure the dimensions of your cake box and cut out enough craft paper or cardstock to cover it entirely. Use glue or tape to secure the paper onto the box.
Step 5: Add custom designs: Using your stamps or stencils, add custom designs to the covered box. You can use different colored ink pads for a more vibrant look.
Step 6: Embellish with ribbon or baker’s twine: To add a finishing touch to your cake box, wrap it with a simple and elegant ribbon or baker’s twine. You can also tie a small tag onto the ribbon for an extra personalized touch.
Step 7: Let it dry: If you have used glue for attaching the paper and embellishments, make sure to let it dry completely before placing the cake inside.
Tips for decorating cake boxes
Here are some additional tips to elevate your cake box decorating skills:
- Consider the occasion: Tailor your box design to match the event or occasion. Utilize colors, patterns or embellishments that reflect the theme of the event. For birthday cakes, consider vibrant, playful designs, whereas, for weddings, elegant and muted tones might be more suitable.
- Brand consistency: If you’re running a bakery business, it’s essential to maintain brand consistency. Your cake box is an extension of your brand, so use colors, fonts and logos that align with your brand identity.
- Less is more: Simplicity can often create the most impact. Overly complicated designs can detract from the cake itself. A clean, well-thought-out design often works best.
- Sustainability: Consider using eco-friendly materials for your boxes. Sustainable packaging is not only good for the environment but is also appreciated by many customers.
- Personalization: Adding a personal touch, like a handwritten note or a custom tag, can make your customers feel special and appreciated.
Remember, the goal of decorating your cake box is not just to look good but also to create a memorable unboxing experience for your customers.
With these tips in mind, you can create beautiful, personalized cake boxes that will leave a lasting impression on your customers.
Finishing touches to make your cake boxes look professional
To add a professional touch to your cake boxes, here are some final tips to keep in mind:
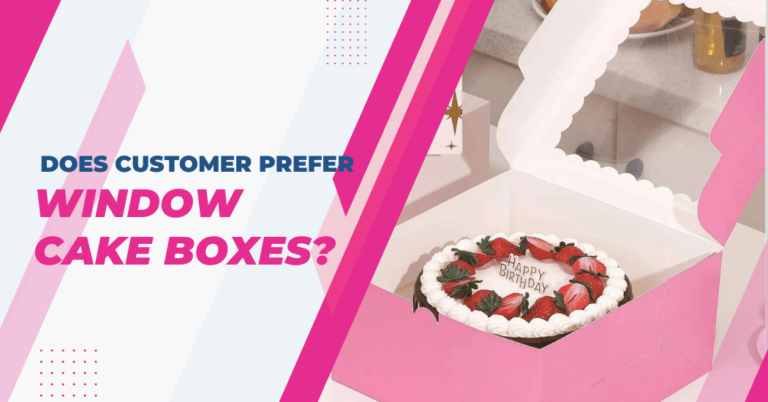
- Add a clear viewing window: One of the signs of a professionally decorated cake box is a viewing window. This allows the recipient to see the cake without opening the box, preserving the freshness of the cake. This can be achieved by cutting a window in the box and attaching a clear plastic sheet on the inside.
- Use high-quality printing: If you’re using printed designs or logos on your cake box, ensure they’re high-resolution and cleanly printed. Blurry or pixelated images can detract from the overall look of the box and appear unprofessional.
- Ensure a perfect fit: Professional cake box should fit the cake snugly, without too much extra space. This prevents the cake from moving around during transportation and maintains its appearance.
- Add a professional label: Professionally printed label including the flavor of the cake, ingredients and your business name and contact details, adds a final touch of professionalism to your cake box.
Common mistakes to avoid when decorating cake boxes
While decorating cake boxes, it’s essential to keep in mind the functionality of the box. Avoid making these common mistakes to ensure your cake box looks great and is functional:
- Overcrowding the design: While it can be tempting to add several different elements to your cake box design, too many components can make the box look cluttered, detracting from its overall elegance. Keep the design clean and simple to highlight the cake inside.
- Ignoring the cake’s design: The cake box should reflect the design and color scheme of the cake inside. Ignoring the cake’s design could result in a mismatched look that fails to create the desired unifying theme.
- Not allowing enough drying time: If you’re using glue, ink or paint in your cake box design, it’s crucial to allow enough drying time before inserting the cake. Not doing so can cause smudging and ruin both the box and the cake.
- Using low-quality materials: Quality is key when decorating cake boxes. Low-quality materials can tear or discolor, ruining the look you’re trying to achieve. Always opt for high-quality materials that can withstand handling and transport.
- Neglecting the box’s functionality: At its core, a cake box is designed to protect the cake during transport and storage. In the pursuit of decoration, don’t compromise the box’s functionality. Ensure the box remains sturdy and secure after the decorations are added.
By avoiding these common mistakes, you can ensure your cake boxes are as attractive as they are functional, leaving a lasting impression on your customers.
FAQs | Cake Packaging Decoration
Can I reuse old cake boxes for decorating?
Yes, you can decorate old cake boxes to give them a fresh and personalized look. Just ensure the box is clean and in good condition before starting the decoration process.
How can I make my cake box reflect the occasion?
Consider the theme and color scheme of the occasion when decorating your cake box. For example, for a birthday, vibrant, playful designs would be suitable, while for a wedding, elegant, muted tones would work best.
How can I ensure brand consistency in my cake box design?
If you’re running a bakery business, use colors, fonts and logos in your box design that align with your brand identity. Your cake box is an extension of your brand, so it should reflect that.
Wrap Up
Decorating cake boxes requires a careful balance of creativity, practicality and professionalism. The key is to create a design that not only highlights the beauty of the cake within but also enhances the overall unboxing experience for the customer.
While aesthetics are certainly important, never compromise on the box’s primary function to protect and present the cake. Also, being mindful of common mistakes and working towards an eco-friendly and sustainable design can make your cake boxes stand out.
Whether you’re a professional baker or a baking enthusiast, these tips can help you elevate your cake boxes to a whole new